Advice · Torque wrenches
Torque in aviation and motorsport: using a torque wrench properly
In aviation as in racing, every important fastener is tightened to a specific value. A torque wrench only makes sense when it is well chosen, well kept and well used. Here are the basics, without replacing your machine’s documentation.
Why torque matters
Too little tightening can let a fastener work loose or a joint move. Too much can distort a part, damage a thread or stretch a bolt beyond what it should carry. Torque is an indirect way of controlling a fastener’s tension: it also depends on the condition of the threads and on lubrication. That is why you should follow exactly the conditions given in the documentation.
Choosing a wrench
The type
Click-type wrenches are the most common in workshops: you set the value, pull, and a click signals that the torque is reached. Dial and beam types exist too, as do electronic models. The right choice depends on readability, the record-keeping you need and the working environment.
Drive size and range
The drive (¼″, ⅜″, ½″) must match your socket set. The range must bracket the values you aim for: avoid working at the extremes of the range, where accuracy is generally lower. Check your wrench’s instructions for its tolerance and recommended zone.
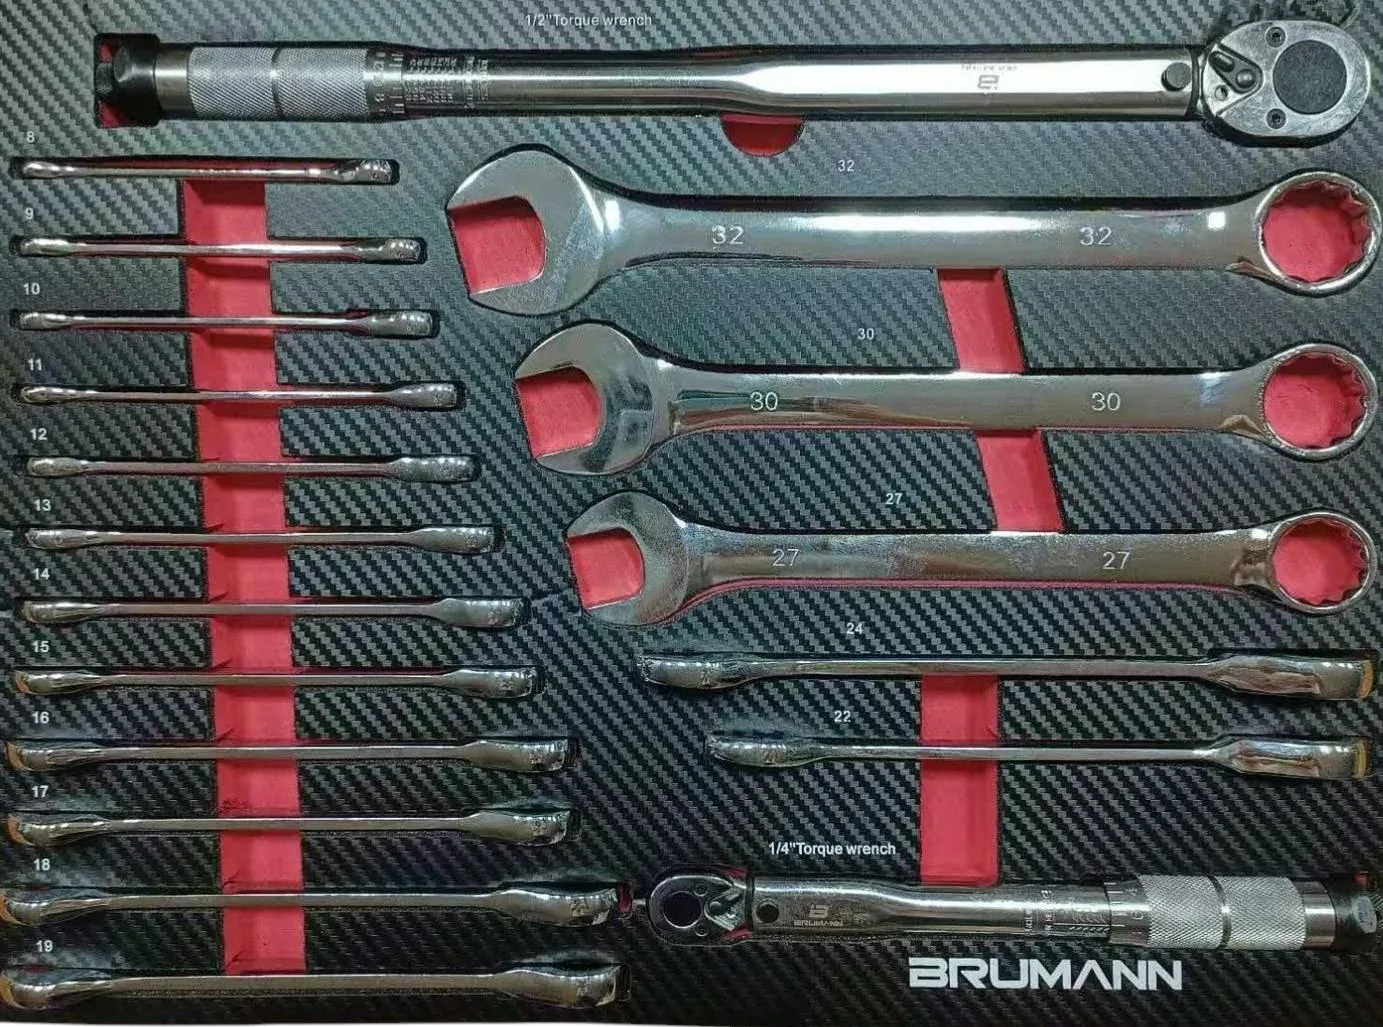
The Max Edition carries two wrenches: a ¼″ from 5 to 25 N·m for precision fastenings, and a ½″ from 40 to 210 N·m for everyday workshop torque settings. The two ranges do not overlap: neither covers values between 25 and 40 N·m. Check your working values before you choose.
The right technique, step by step
- Read the value and its unit. N·m, lbf·ft and lbf·in are not interchangeable; check any conversion twice.
- Check the fastener: clean threads, no corrosion, dry or lubricated as the procedure says.
- Start and run it down by hand until it seats.
- Set the wrench to the required value, and lock the setting if your model allows.
- Seat the socket fully and hold the wrench by its handle, in line with the fastener.
- Pull slowly and steadily, without jerking, and stop at the click. Do not go again to “be sure”.
What to avoid
- Extending the handle with a tube: the real torque is no longer the set value.
- Using the wrench to loosen or as a lever: keep it for final tightening.
- Adding an adapter without checking its effect on the applied torque.
- Carrying on with a wrench that has been dropped without having it checked.
The tightening sequence
For a part held by several fasteners (flange, cover, wheel), tightening is generally done in a cross or star pattern, in several passes, using the sequence and values from the documentation. A check mark in paint or marker on each tightened fastener then shows at a glance what has been done.
In aviation
In aircraft maintenance, tightening sits inside a written procedure: you follow the manufacturer’s documentation, use a tool whose calibration is tracked by the maintenance organisation, and record the work according to its rules. Never step outside that framework out of habit or to save time.
In motorsport
Stops are short and pressure is high, which makes written routines valuable: a checklist, a fixed order of fasteners, one wrench assigned to each torque range to limit setting errors. The check mark is a direct ally here.
Keeping a record
Depending on the case, you record the value applied, the date, the tool used and who tightened. In aviation this traceability is part of the procedure; in motorsport a simple log sheet is often enough to retrace what was done when a doubt appears.
Calibration, care and storage
- Have the wrench checked at the interval set by the manufacturer or your organisation, and after any impact.
- Do not lubricate the mechanism unless the instructions say so.
- For a click-type wrench, the instructions generally ask you to wind it back to the minimum of its range before storage; check yours.
- Store it in a dedicated recess, away from knocks and damp.
A wrench in its place in the workshop
Before you start the job
- Pick the right wrench for the required value, with a range that brackets it.
- Check that the socket matches the fastener profile and is not worn.
- Inspect the wrench: readable scale, no abnormal play, no visible damage.
- Keep the documentation in front of you rather than trusting memory.
The most common mistakes
Most deviations come not from the wrench but from the method: a misread value, a mixed-up unit, a dirty thread, a lubricant the procedure did not allow, or a wrench still set for the previous job and used without rereading the value. The best remedy is a habit: read the instruction aloud, or have a colleague check it when the fastener is critical.
Two checks beat one
On important assemblies the documentation often calls for a check after tightening, or a second person to verify. This is not distrust: it is what catches the most ordinary oversight, the fastener that was skipped.
None of this replaces training or the judgement of the person signing off the work. When in doubt about a value, a sequence or the condition of a tool, stop and ask the person responsible rather than carrying on.
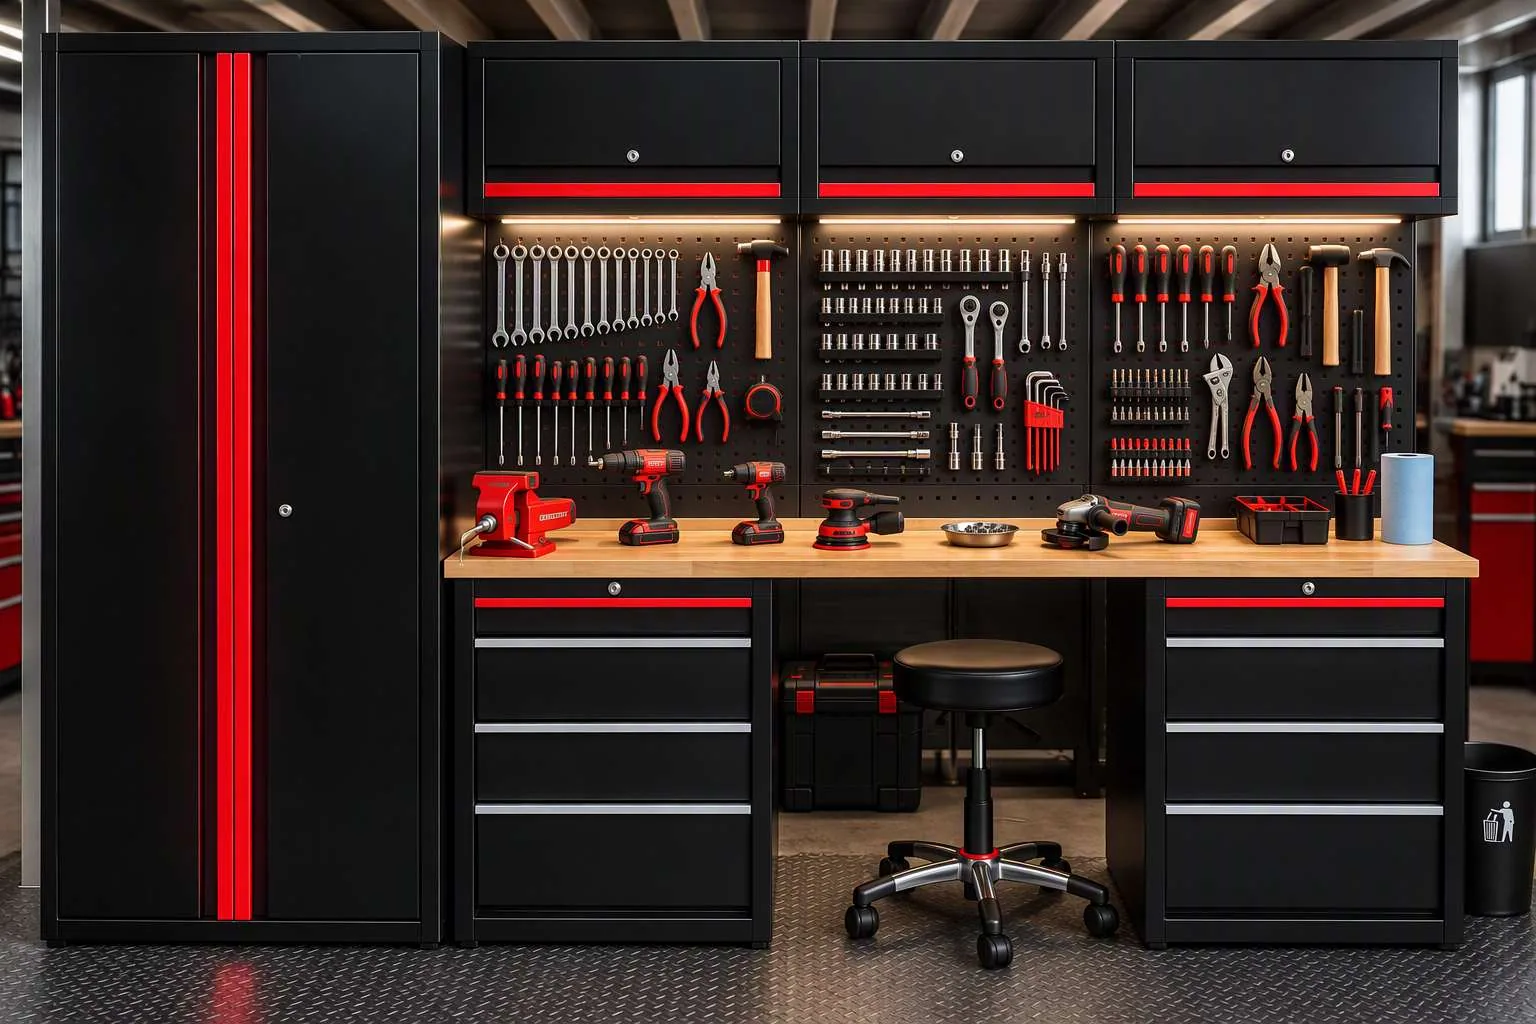
In the Max Edition, the two torque wrenches share drawer 3 with 14 ratcheting spanners (8 to 24 mm) and three combination spanners (27, 30 and 32 mm). Each tool has its recess, so the wrench is always put away and found in the same place, which protects its condition. Workshop furniture is configured to your space, so you can put the tightening station where you want it.
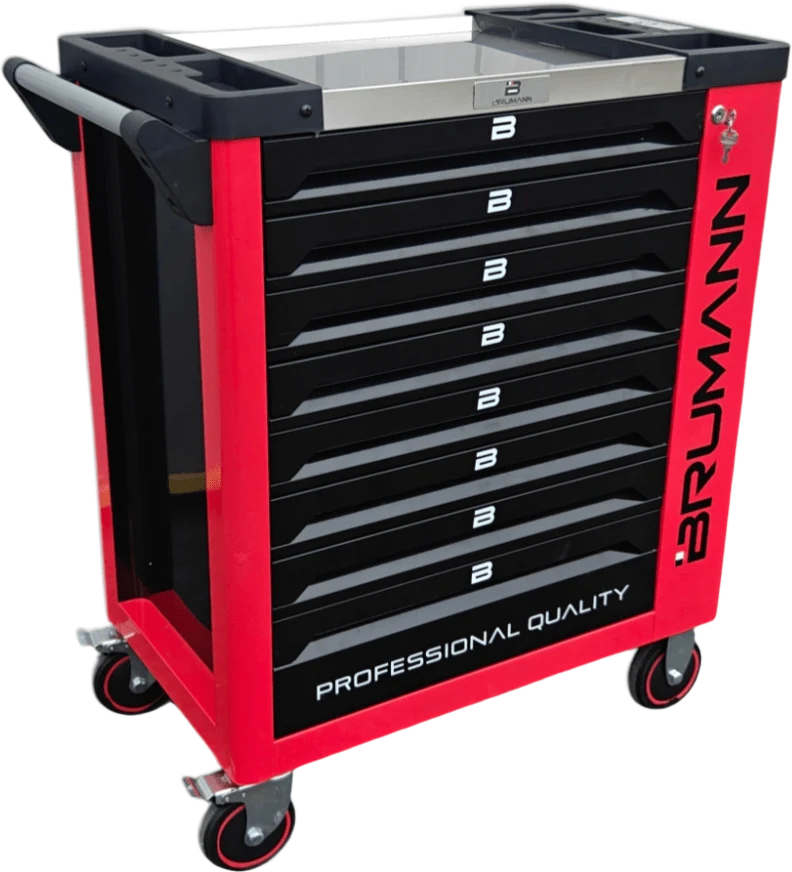
The products we talk about.
More advice.
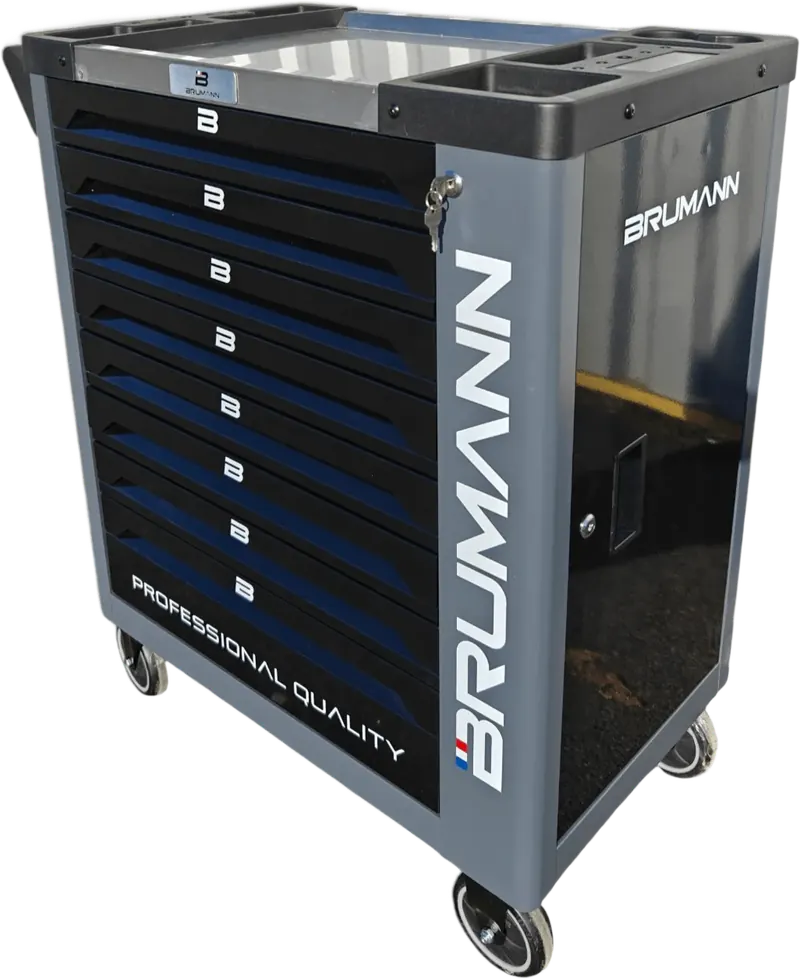
How to choose a workshop tool trolley
Use, drawers, locking, wheels, finish, budget: the criteria for choosing a workshop tool trolley, with a pre-purchase checklist.
What tools belong in a service case?
Sockets, screwdrivers, pliers, measuring tools, consumables: the tools to include in a service tool case, and how to organise it.
Are you a distributor?
Trade prices on request, products in your brand colours on request.